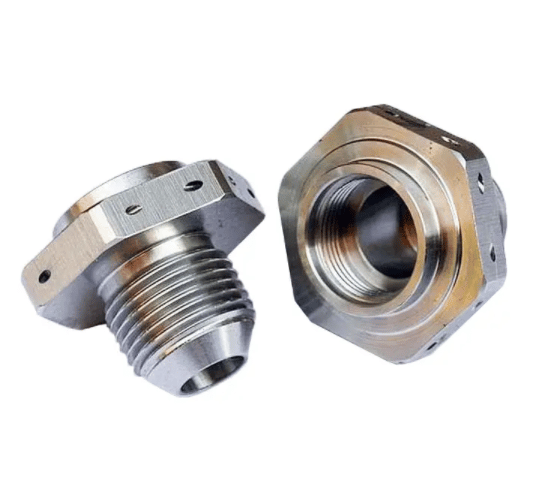
How to precisely measure the dimensional accuracy of machining parts? Here we’ll present five methods of part dimensional inspection.

5 Ways to Measure the Dimensional Accuracy of Workpieces in Machining
1) Trial cut
Trial cutting entails trial cutting, measuring, correction, and recutting until the requisite dimensional precision is achieved. For example, the box hole system’s trial boring. That is, initially attempt to cut a small portion of the machined surface, measure the size acquired from the test cut, modify the position of the tool’s cutting edge relative to the workpiece based on the processing requirements, attempt to cut again, and then measure. When the machined size satisfies specifications after two or three test cuts and measurements, cut the entire machineable surface. This method can produce a high accuracy without requiring complicated equipment. Nonetheless, this method is time-consuming (it requires multiple adjustments, trial cutting, measurement, and calculation), inefficient, dependent on the technical level of workers and the precision of measuring instruments, and the quality is unstable, so it is only used for single-item production in small batches. An example of a trial-cutting procedure is the processing of a second identical workpiece or the combination of two (or more) workpieces for processing. The final size to be machined during matching is contingent on the requirements for matching with the machined parts.
2) Adjustment
Ensure the dimensional correctness of the workpiece by adjusting the relative positions of the machine tool, fixture, cutter, and workpiece using samples or reference components. Because the size is changed prior to processing, additional cutting is not required. During the processing of a batch of components, the size is automatically determined and maintained. This is the method of correction. Using a milling fixture as an example, the tool setting block determines the location of the tool. The idea of the adjustment technique is to utilize the fixed distance device or tool setting device on the machine tool or the preset tool holder to place the tool with respect to the machine tool or fixture, and then to process a batch of workpieces.
It is also a way of adjustment to feed and cut in accordance with the machine tool’s dial. This approach must identify the dial’s scale using the trial-and-error cutting procedure. Frequently, in mass production, tool setting devices such as fixed distance stops, sample pieces, and sample plates are used for adjustment. In terms of processing accuracy, the adjustment method is more stable than the trial-cutting method, has higher productivity, and fewer requirements for machine tool operators, but higher requirements for machine tool adjusters. This approach is often used for mass manufacturing and mass production.
3) Use the corresponding size
This method refers to the procedure of matching the size of the cutter to the size of the component to be processed. It is treated with standard-sized tools, and the tool size determines the size of the machined surface. In other words, instruments with a particular degree of dimensional accuracy are utilized to ensure the precision of the items to be treated. The method for sizing is simple to operate, has high productivity, stable processing accuracy, and is almost independent of the technical ability of personnel. It is utilized in numerous production types. For example, drilling, reaming, etc.
4) Measure size during machining
The active measurement method involves measuring the size during the machining process and comparing the measured results to the size specified by the design, or making the machine tool continue to work, or stopping the machine tool. Currently, the active measurement values can be shown digitally. Active measurement adds the measuring device to the process system (machine tool, tool, fixture, and workpiece) as the fifth factor. Active measurement is a direction of development with stable quality and great efficiency.
5) Automatic control
The components of this method include a measurement device, a feeding device, and a control system. It is an automatic processing system comprised of a measurement device, a feeding device, and a control system, and the system completes the processing process automatically. A succession of tasks, including dimension measurement, tool compensation adjustment, cutting, and machine tool stop, are accomplished automatically, and the needed dimension precision is attained automatically. For instance, while milling on a CNC machine tool, the sequence and precision of machining are controlled by numerous program instructions.
Using active measurement and mechanical or hydraulic control systems, the initial automatic control approach is concluded. Currently, it has adopted the program pre-arranged according to the processing requirements, the program control machine tool that the control system sends instructions to work, or the digital control machine tool that the control system sends digital information instructions to work, and the adaptive control machine tool that can adapt to the changes of processing conditions in the processing process, automatically adjust the processing amount, and optimize the processing. The method of automatic control provides steady quality, high productivity, excellent processing flexibility, and the capacity to adapt to many production types. It is the direction of development for mechanical production and the foundation for CAM.