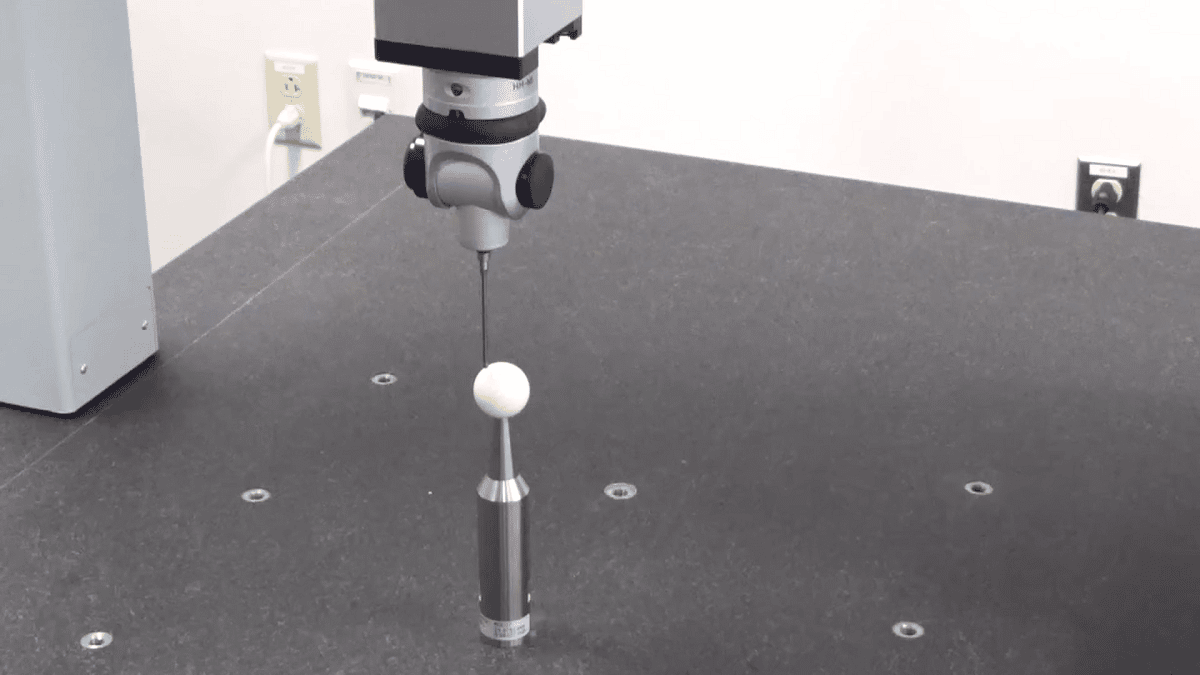
Probe calibration is the basis to ensure the measurement accuracy, the main factors causing error in the process of probe correction are: the bending deformation of the probe, the position of the contact point when the probe is corrected, the measurement force, the touch speed and the detection distance, etc., the smaller the measuring force, the lower the accuracy, a certain measurement force and speed measurement should be selected for correction, and the appropriate detection distance should be selected to ensure the accuracy of the correction.

CMM Probe Calibration Is Mainly Based On The Following Two Reasons:
(1) When measuring parts by coordinate measuring machines, the end of the stylus installed on the measuring sensor is a jewel ball, and the measurement signal is triggered after the sphere comes into contact with the surface of the part to be measured. After triggering the signal, the motion controller sends the current coordinates of the machine to the measurement software, and then the software converts the machine coordinates to the ball measurement center, and finally shifts the ball radius according to the touch direction to obtain the correct measurement point coordinates, which can accurately correct the ball radius value of the function is an important function of the coordinate measuring machine software. Due to the error in the radius size of the probe, the installation size, etc., which may affect the accuracy of the measurement point, the measurement system needs to correct the radius value of the actual stylus through the probe calibration step.
(2) In the measurement process, it is often necessary to configure different probe angles, lengths and diameters of different probes to achieve the measurement of different geometric elements. The points measured at these different locations must be converted accordingly to be calculated at the same coordinates to give the correct result. Because the long rod, sensor, stylus, etc. will inevitably bring in the installation error during the installation process, so the real position relationship between different probe angles should be determined through probe calibration, so that the software system can accurately convert.
The Purpose Of Cmm Probe Calibration:
a. Obtain the position relationship between the various angles of the probe
b. Get the equivalent diameter of the stylus, why the equivalent diameter of the stylus is less than the nominal value:
- It can only be triggered after contact.
- The time of the count latch after triggering.
- Inertia when the measuring machine is stopped.
- Stylus deformation.
- The longer the stylus, the smaller the equivalent diameter.
c. Correction of probe position:
- The relationship matrix between different probe positions is obtained by taking the coordinates of the standard ball and converting the elements measured by different probe positions to a probe position.
- When correcting the stylus, use more than three layers of measuring points.
- Check the position correction of the probe, use each corrected probe to measure the center of the ball of the same ball, and observe the change of the coordinates of the center of the ball.
How To Check The Results Of The Cmm Probe Calibration:
a. Check whether the equivalent diameter of the stylus is less than the nominal value
b. Check whether the corrected form value is less than 2 microns (actually according to the machine accuracy)
c. Measure the center of the standard ball at different angles to see if there is a deviation, generally check ab two items, which must be met at the same time to measure
Factors Affecting Cmm Probe Calibration Results:
a. Environmental factors: temperature, humidity, source, dust
b. The standard ball or ruby has a foreign body, which can be re-corrected after rubbing with sprinkled cotton
c. The standard ball and the measuring needle are loose
d. Problems with the machine hardware itself, such as the blockage of the air float bearing, the loosening of the transmission, electrical reasons and so on.
The calibration of the probe is a very important preparation before the measurement, it can not only ensure the accuracy of the measurement, but also help the operator to find many problems on the machine, such as the addition of the stylus and the actual discrepancy, the standard ball stylus is loose, the machine itself Accuracy is a problem, so it must be paid attention to.