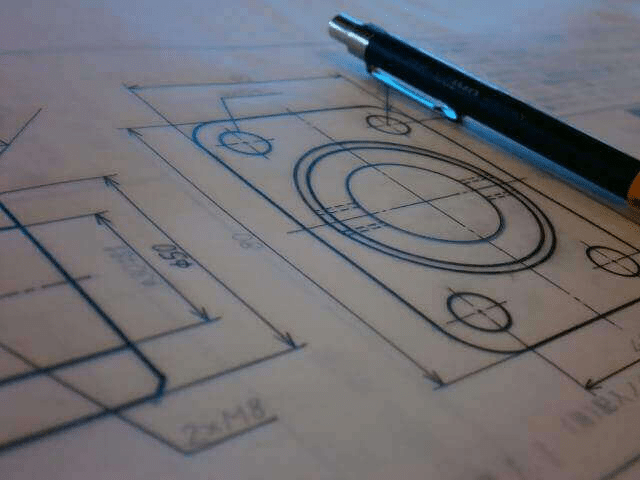
To determine how accurate the circular shape should be, measure the roundness of the circular cross-section such as the axis, hole, cone, etc.

Workpiece GD&T Roundness Measurement (Detection) Methods
As we all know, people cannot draw a perfect ideal circle. With the advancement of science and technology, people can only get infinitely close to the ideal roundness in the process of industrial processing of parts.
Roundness
Refers to an indicator of the actual circle to the ideal circle variation, its tolerance band is the tolerance value t as the radius of the difference between the two concentric circles of the area, roundness tolerance belongs to the shape tolerance, roundness error value is not greater than the corresponding tolerance value, it is considered qualified.
This is the Geometric tolerance for misalignment with respect to the finished perfect circle. If the cutting tool itself used for drilling is not perfectly circular, the product machined using that tool will exceed the tolerance, so it is necessary to specify it.
How To Measure (Detect) the GD&T Roundness of Parts & Workpieces?
Roundness measurement can be roughly divided into three types: the diameter method, the three-point method, and the radius method.
- 1- Diameter Method – Measurement With A Micrometer
The diameter method is a method of measuring the diameter at several points with a micrometer or the like. Calculate the difference between the maximum and minimum diameters and divide by 2 to get the roundness.
Roundness is calculated by measuring between two points while dividing the outer shape into 4 to 8 equal parts, checking the maximum and minimum values, and dividing the difference by 2.
A micrometer is the only instrument required for measurement, so you can easily measure anywhere.
- Roundness = (Dmax-Dmin)/2
- Dmax: maximum value
- Dmin: minimum value
Accuracy is limited because it is the average value of measurements between two points. In addition, errors may occur due to differences in how the micrometer measurement terminals are applied. Furthermore, when analyzing the acquired data, work such as inputting the data into a computer is required.
- 2 – Three-Point Method – Measurement By 3D Measuring Machine
Roundness can be measured by touching the stylus to four or more points and performing point measurement. Measurements are calculated by the least squares method that minimizes the sum of errors from all measurement points.
- 3 – Rotary Axis Method – Measurement By Roundness Meter
It is an important testing equipment for detecting the roundness of the workpiece. The roundness meter is similar to the three-coordinate detection principle, establishing a reference three-dimensional coordinate system, and using sensor records to collect the data of the actual workpiece in the standard three-dimensional coordinate system space for comparison. You can get a series of data corresponding to the workpiece, such as roundness, cylindricality, outer diameter, inner diameter, center verticality, runout, and other data.
Using the precision shaft system to rotate for one week, the trajectory (ideal circle) formed is compared with the measured circle, and then the data is calculated, and then the roundness, cylindricality, inner and outer diameter of the measured workpiece is obtained. High-precision roundness measuring instruments need to be equipped with high-precision sensors and high-precision turntables to measure high-precision data.
Suitable for industrial precision measurement, laboratory calibration, metrology calibration and other fields. It can be applied to the processing and measurement fields of bearings, machining, auto parts, precision hardware, precision tools, molds and other components. And the eccentricity and phase of the parts can be given. And the detection efficiency is fast to adapt to the production line, which can be achieved by similar products. It can be tested at the same time. The detection efficiency is much higher than that of the three coordinates, and the operation is simple and intuitive. The large touch screen displays real-time data statistics SCP, CPK, and the automatic production data form is linked to the printer. Real-time and precise control of product quality.