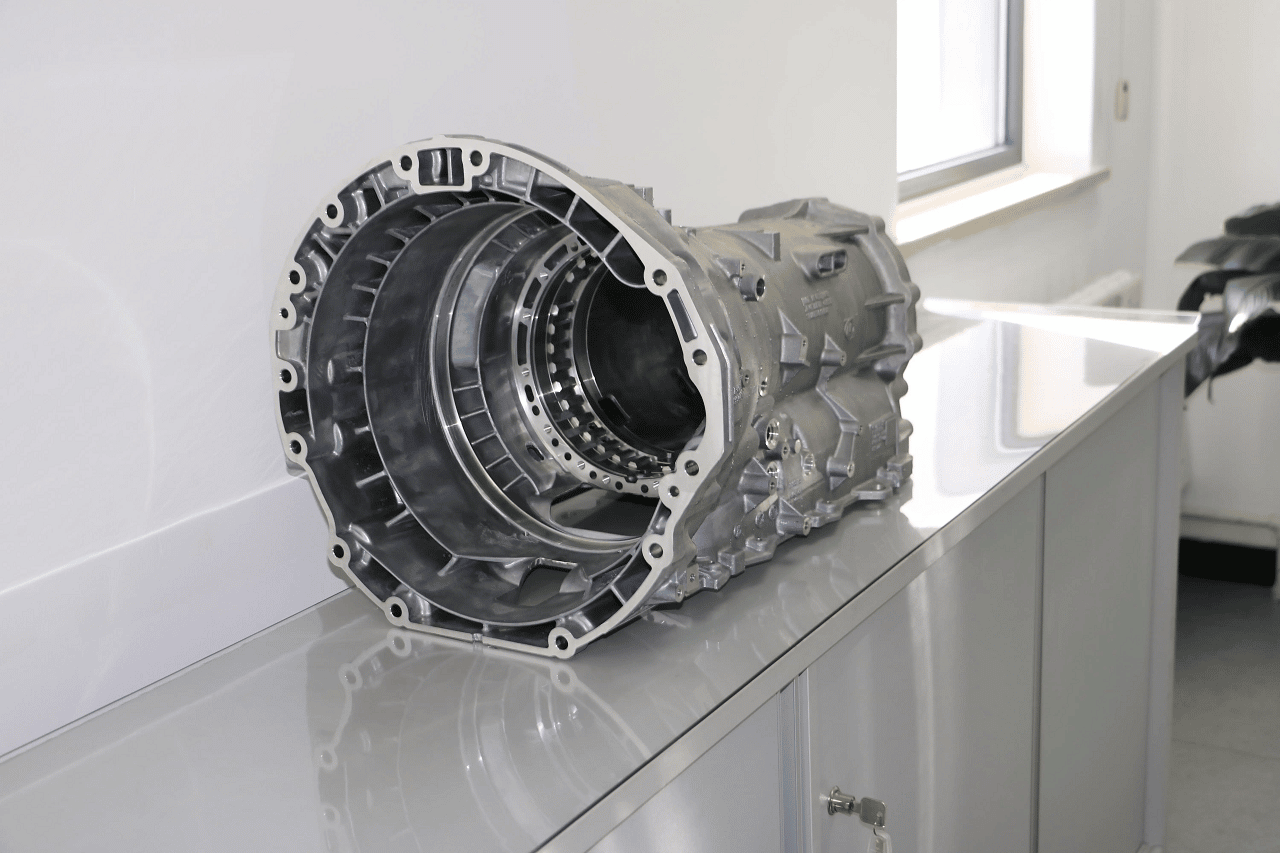
Since aluminum also has the soft nature of the material, scratches may occur in the cast product or foreign matter may intervene depending on the factory environment, which greatly affects the quality. Therefore, we will introduce the points of inspection that we conduct in order to provide stable and high-quality aluminum castings.

What Is The Inspection Process Of Aluminum Castings?
There are two types of inspection processes for aluminum castings: pressure resistance inspection and foreign matter contamination.
1. Pressure Resistance Test
When testing the tightness and pressure resistance of castings, two types of inspection methods are generally used: the initial bubble method and the decompression solidification method for pressure resistance testing. In the former initial bubble test, molten metal is collected in a stainless steel crucible, installed in a vacuum container, and then depressurized with a vacuum pump to confirm the generation of hydrogen gas bubbles, and the amount of hydrogen gas is calculated from the temperature and pressure at that time. On the other hand, the latter decompression coagulation test is a method of estimating the amount of hydrogen from the distribution and size of gas bubbles by collecting molten metal in a stainless steel container, installing it in a decompression container, depressurizing it with a vacuum pump to solidify, and then cutting the sample after cooling.
2. Foreign Matter Contamination Test
When testing for contamination, the K-mold method is generally used. In this method, molten metal is cast into a mold, and the strip-shaped test piece obtained after solidification is divided into 5 ~ 6 pieces with a hammer or the like to determine the number of inclusions that appeared on the fracture surface. As an evaluation method, the total number of inclusions appearing on all fracture surfaces is obtained by dividing by the number of test pieces, and this value is called the K value. The K value is classified into rank A ~ E and judged whether the molten metal quality can be used for casting.
Points To Be Aware Of When Inspecting Aluminum Castings
1. Product Distortion
Due to the material of aluminum, it is soft and easily scratched, and if it exceeds 150°C, distortion, deformation, and cracking will occur. For this reason, distortion and scratches that cause dimensional errors may occur before and after processing. We create high-precision castings that do not crack or scratch castings by measuring by directly touching the product using a contact CMM, or by measuring in three dimensions by shining a laser light with a non-contact 3D digitizer.
2. Illuminance
There is a visual inspection in the casting inspection process. We measure the illuminance of the object and confirm that it is within the reference value according to the points of the Lighting Standards General Rules. Care must be taken because inspection standards differ depending on the inspection target. In addition, by performing temperature and humidity control that is susceptible to external influences, it is possible to guarantee quality by standardizing the casting process and to suppress the generation of cast holes related to humidity.
3. Inspector Skill Management
In terms of skill management of inspectors, it is important to manage whether the workers entrusted with quality control meet standards above and below the standards in terms of color vision, vision, and handling of measuring machines. In particular, since we have QC certification holders, we think about how to efficiently produce high-quality products required by customers under strict quality control standards, and reflect this in our manufacturing process.
4. Calibration Management Of Measuring Instruments
Parts may deteriorate due to misalignment or wear due to long-term use of measuring equipment, and accurate measurement values may not be measured. For this reason, it is necessary to confirm whether the actual machine used is measuring correctly, called calibration. Therefore, we prove the standards required by ISO 9001 based on the traceability system diagram, which is a document describing the calibration route of the equipment used for calibration, and the date of calibration, as well as the calibration certificate that describes the name of the manufacturer who performed the calibration, inspection test items, inspection results, etc.
5. The Factory Environment Is Important
Aluminum is prone to local corrosion called “white rust,” in which white convex areas protrude on the surface, and rust spreads throughout the surface. The main causes of this white rust are salt, dust, soot, and exhaust gases. We thoroughly implement environmental equipment at our factories, such as 5S activities and air conditioning management. Especially at production sites where sand scattering and chips occur, we thoroughly create an environment that prevents white rust as much as possible because we conduct daily cleaning.