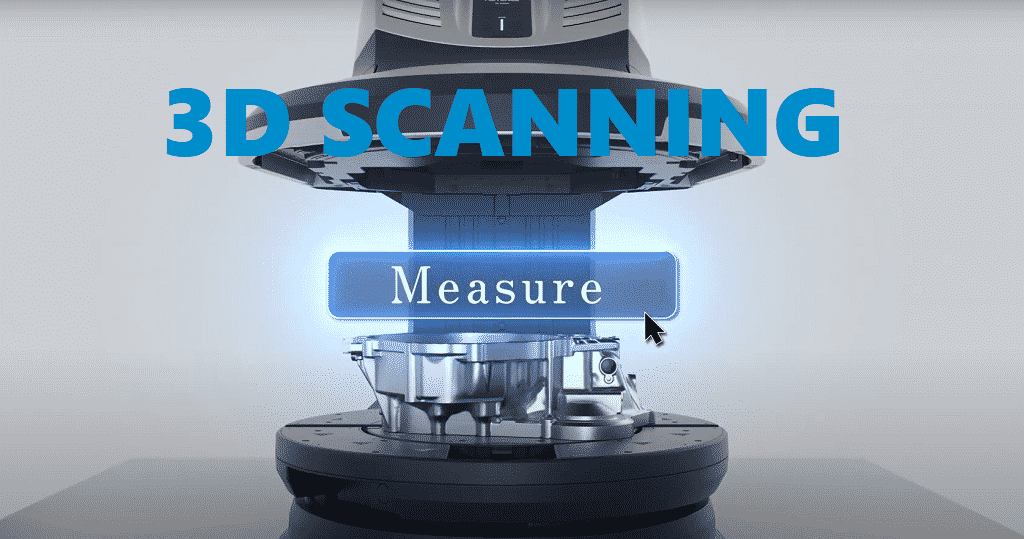
3D Scanning allows you to make a variety of CMM measurements so you can create quality control reports that meet your needs. Also, by 3D scanning and digitizing the parts, it is possible to make additional measurements if there is scan data even if there is no real thing. Since it is managed as data, there is no need to remeasure the parts. With various measurement functions, 3D measurement can perform testings that meet the needs of various quality inspection processes in the manufacturing field, from automation of detect processes according to workflows to simple checking. In this article, we will introduce the role of 3D measurement in product quality control, which involves 3D scanning which can detect product dimensions and attributes.

Use 3D Scan Data for Product Measurement and Quality Inspection
In order to ensure quality from the delivery destination of products, a worldwide movement is spreading, such as the requirement to change from sampling inspection to 100% product quality inspection, and the requirement to provide 3D verification data from visual inspections. In doing so, when considering the introduction of image inspection equipment and 3D measurement, we will look at which points should be inspected and give an overview.
What is 3D Scanning?
3D scanning refers to the technology in which the physical product is captured as 3D digital data in general. Scanned data is generally “point cloud data”. Point cloud data is a collection of points with coordinate values (x, y, z) sometimes referred to as point clouds. As the resolution of 3D scanners increases, the use of point cloud data and design CAD data for inspection and measurement has also been used in the inspection and measurement processes, such as inspecting whether the actual product is within the specified value and measuring parts that are difficult to measure with nogis. On this page, we will introduce the measurement and inspection merits using 3D scan data.
What Dimension & Specification of Products Can Be measured with 3D Scanning?
When it is necessary to grasp the “surface” such as warping or swelling, a wide range of measurements are required, so acquiring “point” and “line” information such as 3D measuring machines, contour shape measuring machines, and other dial gauges requires a huge amount of measurement and time and man-hours. By using 3D scan data, the shape of the workpiece can be quickly captured as a “surface” in many point clouds, so it is effective for grasping the entire workpiece and evaluating the curved surface, as follows.
- For the dandrance and warp inspection of molded products
By superimposing 3D scan data and 3D CAD data, it is possible to compare the normality points of each element (plane or fillet) on CAD, and color map display colored for each distance. You can visualize the occurrence of dandres, sleds, and swells that were not visually understood.
- For bending and measuring the dimensions and shape of pressed products
You can get the cross-section information of any part you want to check, and check the deviation tendency by the color map and vector display. By checking the 2D cross section, it is possible to grasp the tendency of the shape, etc., even if it is difficult to judge from the 3D color map alone.
- Measuring geometric tolerances
With inspection software that can read native files containing GD&t information for 3D data, geometric tolerances for each element can be quickly measured. It’s easy to measure all the tolerances to shape, posture, and position that have taken a lot of time and effort.
*What is GD&t (Geometric Dimensional & Tolerancing: Geometric tolerance) Data used to define allowable deviations on drawings and models. It prevents variations due to cumulative tolerances caused by dimensional tolerances only instructions, and accurately reflects the designer’s intentions.
- Automated measurement
By utilizing the macro functions of 3D scanning control software and inspection software, measurement items can be templated to automate the inspection after the second time. Even if you don’t have knowledge of complex and specialized programs, you can measure fixed coordinates every time, preventing operator variation. In addition, it is possible to determine the pass/fail of the product and output the report of the inspection results, which not only reduces man-hours but also saves labor between processes.
IPQC offers professional 3D Laser Scanning service with a CAD-based 3D inspection software that can measure 3D scan data. By using the created CAD model and the measurement data acquired by 3D scanning, it is possible to create a geometrical dimensional tolerance that is important in quality control and a deviation color map that can visually grasp the problem. As well as high-precision 3D scanning services, we can also provide services that utilize 3D scanning, which is difficult for other companies to complete in-house because advanced skills are required.