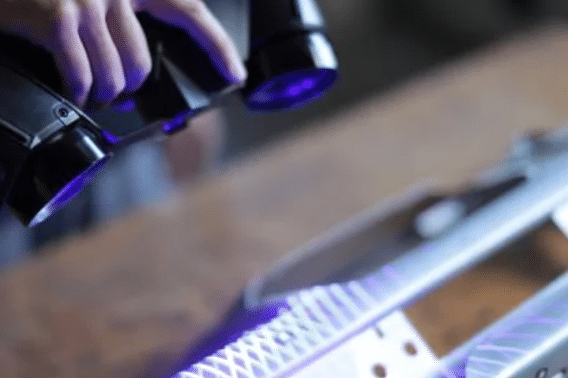
3D scanning is an effective method to measure and inspect manufactured parts and products, how is 3D laser scanning used in quality control and how accurate is it?

What is 3D Laser Scanning?
3D laser scanning is a non-contact, non-destructive technology used to capture the shape, size, and position of objects in a three-dimensional digital format. It uses a laser scanner that emits a beam of light that scans the surface of an object, and the reflected laser light is then captured by a sensor to create a point cloud. The point cloud is a collection of millions of individual points that represent the surface of the object.
The point cloud can be used to create a 3D model of the object, which can be viewed, analyzed, and manipulated on a computer. 3D laser scanning is widely used in many fields, such as architecture, engineering, construction, manufacturing, and cultural heritage preservation. It allows for accurate and efficient measurements, inspections, and documentation of objects and structures, and it can help to reduce errors and save time and cost compared to traditional methods.
How is 3D Scanning Used in Quality Control?
3D laser scanning is used in quality control to inspect and measure parts and products to ensure they meet the required specifications and standards. Here are some ways 3D laser scanning is used in quality control:
- Inspection of part dimensions: 3D laser scanning can be used to inspect the dimensions of a part, including features such as holes, slots, and edges. The point cloud data generated by the scanner can be compared to the CAD model of the part to identify any deviations from the design specifications.
- Surface quality inspection: The 3D laser scanner can detect surface irregularities, scratches, and other defects that may not be visible to the naked eye. By analyzing the point cloud data, engineers can determine if the surface quality of the product meets the required standards.
- First Article Inspection: 3D laser scanning can be used to verify the quality of the first article of a product. By scanning the first article, engineers can compare the scan data to the CAD model to ensure that the product meets the design specifications.
- Reverse engineering: In cases where a part has been modified or a manufacturer no longer exists, 3D laser scanning can be used to reverse engineer the part. By scanning the part, engineers can create a CAD model to reproduce the part to the original specifications.
How Accurate is 3D Laser Scanning?
The accuracy of 3D laser scanning depends on several factors, including the type of scanner used, the scanning method, and the quality of the surface being scanned. However, in general, 3D laser scanning is a highly accurate method of capturing the shape and dimensions of objects and surfaces.
The accuracy of 3D laser scanning is typically expressed in terms of spatial resolution, which is the smallest distance that can be accurately measured by the scanner. The spatial resolution of a 3D laser scanner can range from a few micrometers to several millimeters, depending on the type of scanner and the scanning conditions. The accuracy of 3D laser scanning can also be affected by factors such as noise, vibrations, and changes in temperature and humidity. To minimize these effects, 3D laser scanning is often performed in controlled environments, such as clean rooms or temperature-controlled chambers.
In general, high-end 3D laser scanners can achieve an accuracy of up to 0.01mm or better, making them suitable for precision applications in fields such as aerospace, automotive, and medical device manufacturing. However, it is important to note that the accuracy of 3D laser scanning can vary depending on the specific application.