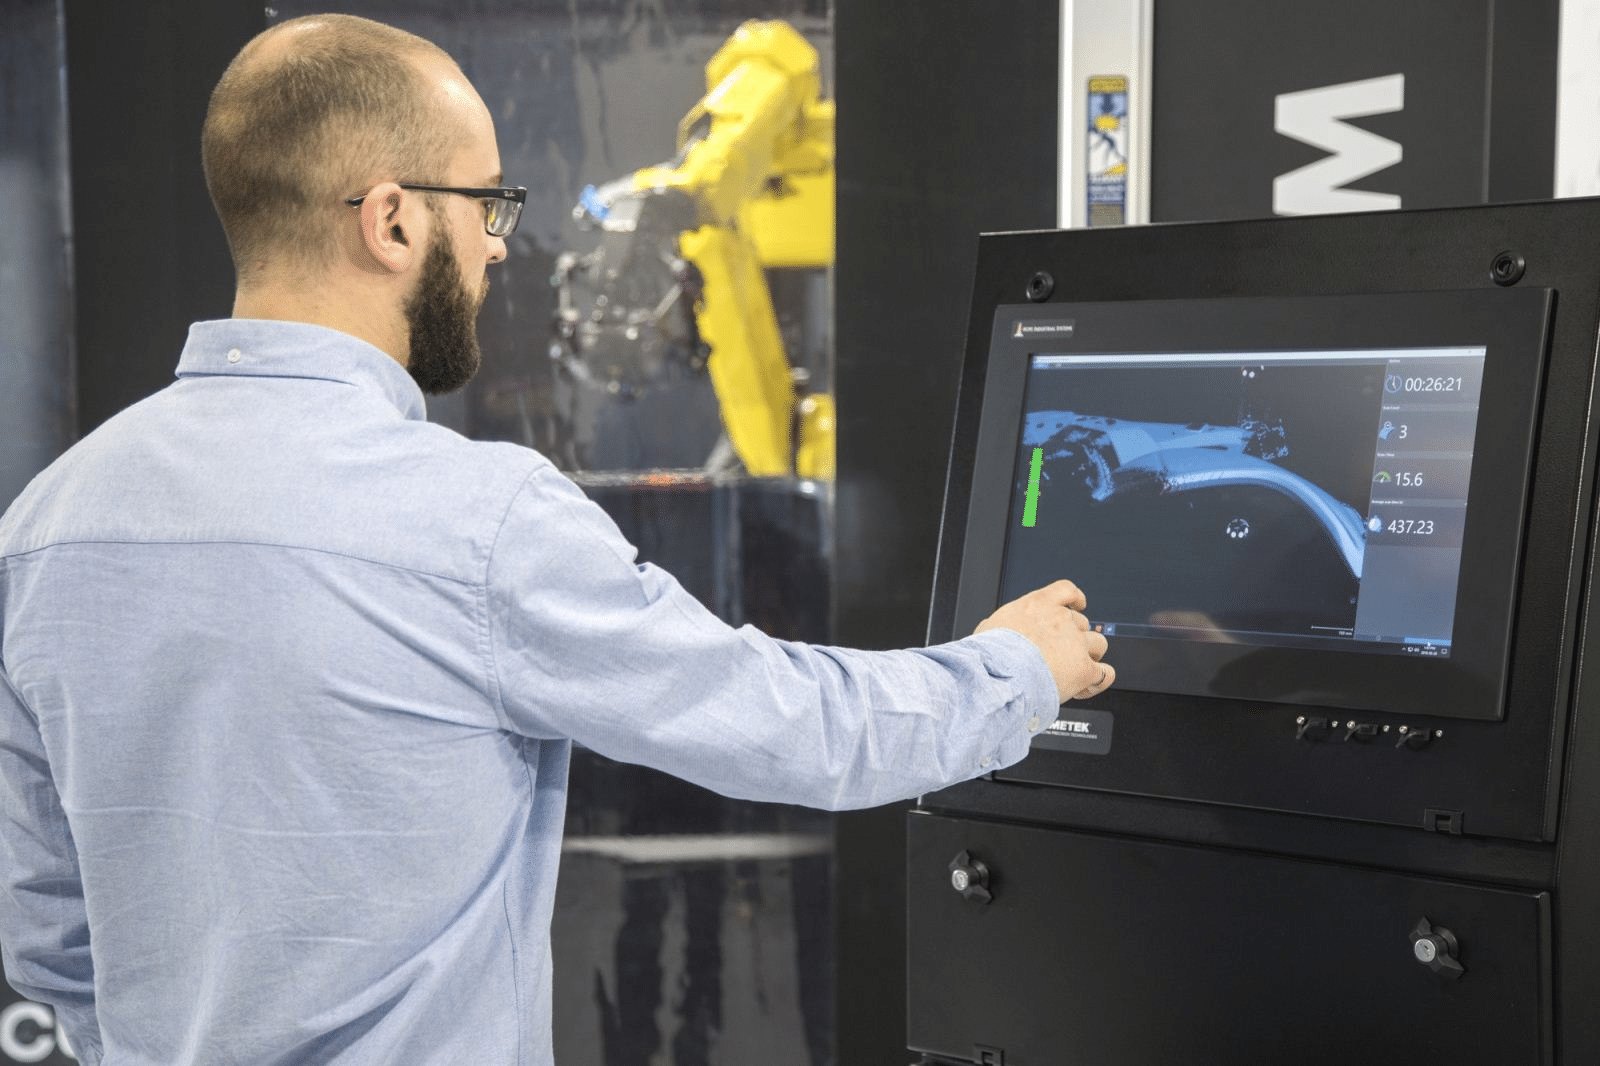
In factories that use line production methods to manufacture products, it is essential to quickly confirm the quality of the products to avoid continuing to produce defective items. Inline inspection machines are indispensable devices for product inspection during production that can inspect the appearance defects, optical characteristics, and shapes such as concave-convex while producing the product.
This article explains the mechanism of inline inspection and the differences from offline inspection, as well as provides examples of inline inspection equipment and specific products. Finally, reliable manufacturers to consult when introducing inline inspection are also introduced.

What is In-Line Inspection?
Inline inspection is a “real-time inspection” performed in a factory using a line production method to analyze the product while the production line is running. The inspection targets for inline inspection are diverse and include inspection of appearance quality such as defects, scratches, dirt, and dents, as well as optical characteristics such as haze and glossiness, and are performed for quality assurance and production anomaly detection by full product inspection.
(1) Mechanism of inline inspection
In the case of inline inspection, a sensor is installed on the line to perform the intended measurement, and the system determines whether the product is acceptable based on the predetermined pass-fail threshold. For example, in the case of inline defect inspection, good and defective samples are prepared in advance, and the dimensions and number of defects to be determined from images detected by a CCD camera are set. When foreign objects pass under the sensor during production, the system automatically performs a good/bad judgment based on the predetermined judgment conditions. If it is judged as a foreign object of a defective level, a number judgment is performed, and the product’s acceptability is output.
(2) Advantages of inline inspection
The biggest advantage of inline inspection is the ability to perform real-time inspections during product production, enabling on-the-spot anomaly detection. In addition, by linking manufacturing equipment with the system, if an abnormality occurs or if the management limit is near, automatic adjustment can be made to manufacture within the range of good products based on the feedback data. From the perspective of quality assurance, full product inspection is possible, ensuring high reliability, and there are cases where customers request a guarantee value through inline inspection when concluding specifications.
(3) Differences from offline inspection
Offline inspection refers to inspection performed outside of line production methods. When it is difficult to perform inline inspection or management in a complex or physically impossible inspection, or on a continuous production line where inline inspection machines cannot be installed, offline inspection is performed at the start and end of production, and if no abnormalities are found, the produced items are judged as good products. In factories with multiple production lines, it may be challenging to introduce the same inline inspection machine to all production lines. In such cases, offline inspections by sampling may be performed for quality assurance.
Inline Inspection Methods & Equipments
(1) Inline defect inspection machine
When it comes to inline inspection, many technicians first think of defect inspection machines. Appearance defects such as foreign objects, dirt, and scratches are items that continue to be discussed until the final delivery specifications with the customer. While full-scale visual inspection is desired for appearance inspection, it is difficult to perform offline visual inspection of products that are continuously produced without interruption. Inline inspection machines can reduce defective products by confirming them in the production process.
There are various methods for inline defect inspection machines, such as reflection inspection and transmission inspection. In reflection inspection, the difference in reflectivity between the normal and abnormal parts is detected by a camera, while in transmission inspection, the difference in light transmittance is detected. There is also a method that directly identifies scratches using infrared, etc.
For inline defect inspection machines, it is important to follow the processing speed, and when high-speed and transparent products such as film are flowing, the combination of a camera and light source that accurately reads the defect image is key.
(2) Inline film thickness measuring machine
The thickness of wafers in semiconductor factories, film products, and coating thickness of coated products are important parameters that affect product performance. If the thickness deviates from the product management value, it will become non-conforming, so it is important to manage it inline and provide feedback to the production conditions. In addition, it is a prerequisite that it can be inspected without direct contact with the product, as it would affect the appearance quality if it were touched directly. Therefore, various light sources such as X-rays and IR are used in inline film thickness measuring machines.
(3) Inline 3D inspection machine
It is an inspection machine that performs real-time shape analysis to improve yield by analyzing shape defects in baked goods, chocolates, and other products produced in food factories, and abnormal inspections of sensor boards for cars in automobile factories. Measurement equipment such as 3D cameras and 3D displacement meters can be used to measure the uneven shape, volume, and color of the measurement target object. Since appearance, dimensions, and shape can be inspected simultaneously, it is possible to drastically reduce the offline inspection process.